You need to use a mobile device for check-in/ check-out
- Step 1. Select the Manual Timesheets at Timesheets setting
- Step 2. Enable the Allow attendance by route
- Step 3. Create the route for employees
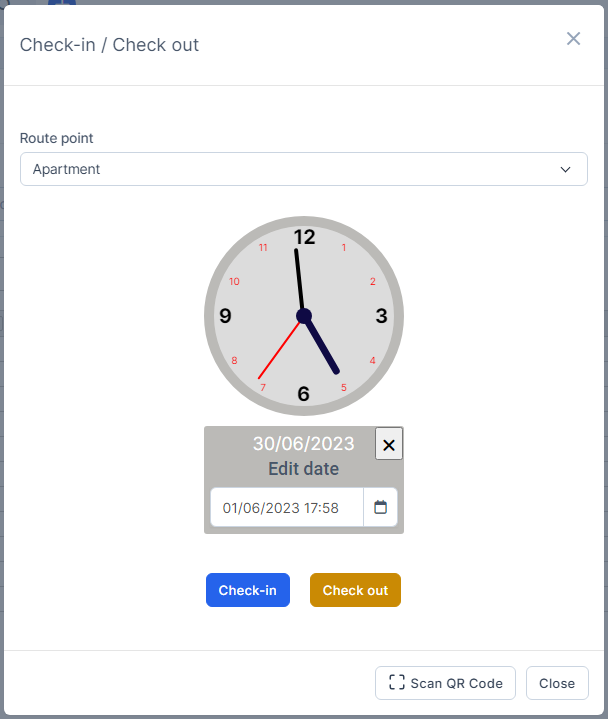
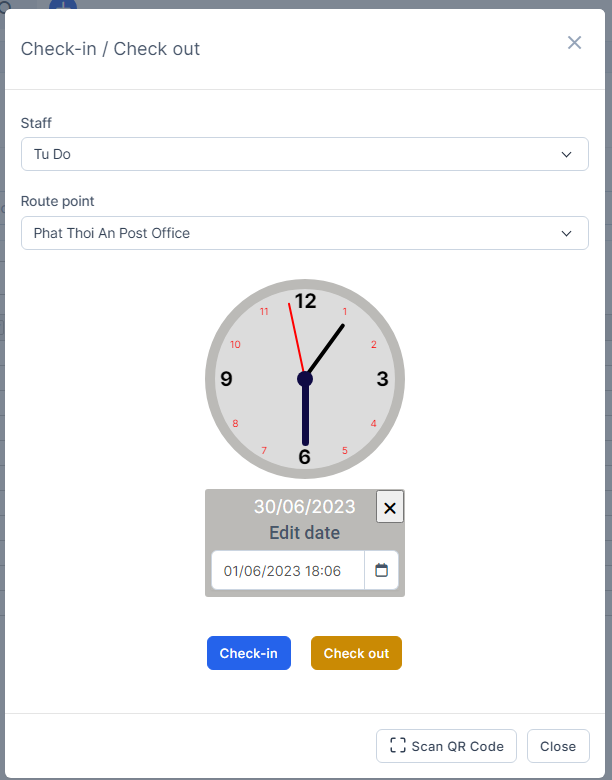
- Step 4. Go to Attendance menu under Timesheets & Leave module from the left sidebar -> Click on the Check-in/ check-out button -> click on the check-in or Check out button Or click on
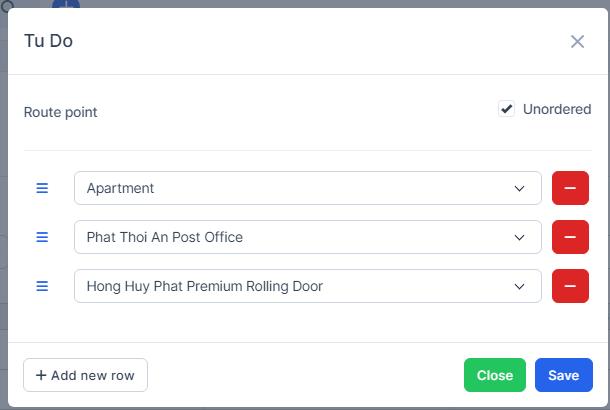
If displaying the message Your current location is not alowed, it means that the position you are standing in is not within the allowed radius. If displaying the message Route point is unknow, it means you have not been assigned route.- If you are activating Unordered, at the Route point field, you can choose one of the route points of the route to check-in/out first.
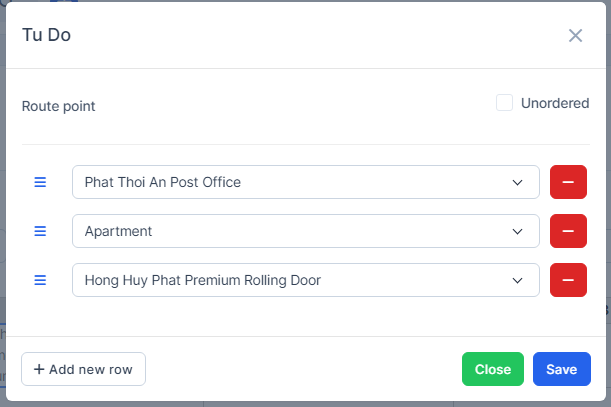
If you are deactivating Unordered, at the Route point field, you cannot select route point. After you have completed check-in and check-out at one route point, you can check-in/check-out at the next route point.
- After completing check-in and check-out at a route point -> that route point displays in green.

Note: If Send email to customer when staff check in/out at customer location is checked ==> customer can receive email notification when staff check in/check out at route point related to customer