1. Feature Overview
Administrators can create smart views and assign them to different teams. As an admin, this gives you control over the views each of your teams see. With this feature, you can show your teams only those accounts, leads, opportunities, activities and tasks relevant to them.
As an admin, you can manage smart views by navigating to My Profile>Settings>Leads>Views>Smart Views.
2. Prerequisites
- You must be the Admin of your WPSCRM account.
- You must create Teams in your account.
3. Create a New Smart View
To create the first Smart View tab –
- Navigate to My Profile>Settings>Leads>Views>Smart Views and click Create.
- Enter a name for the new smart view tab, then click Create Tabs. You can add Lead, Opportunity, Activity and Task type tabs.
- Create the smart view tab and click Save.
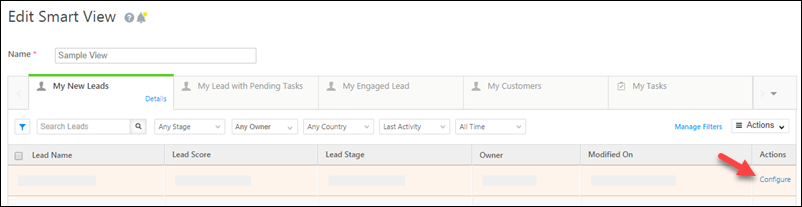
The following example shows a new smart views tab for ‘Leads from Bangalore’ –
To create subsequent new Smart View tabs –
- On the top-right corner of the grid, click the
 actions icon.
 - Click Add New Tab. Enter the relevant details and click Create Tab.
3.1 Configure Quick Actions and Menu Actions
When you create or edit a smart view tab, you can configure the actions you want a user to have on the particular entity. Under the Actions column, click the Configure link –
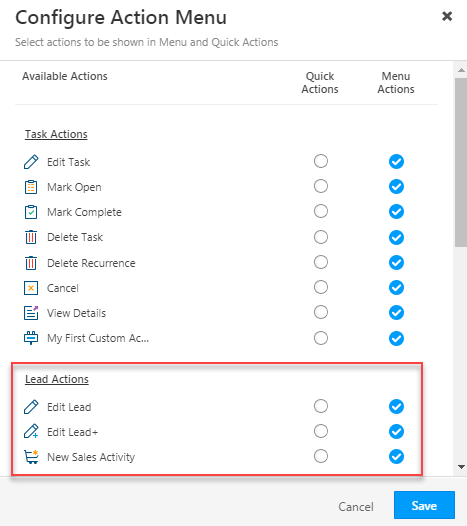
Now, select/de-select the quick actions and menu actions you want to display, then click Save.
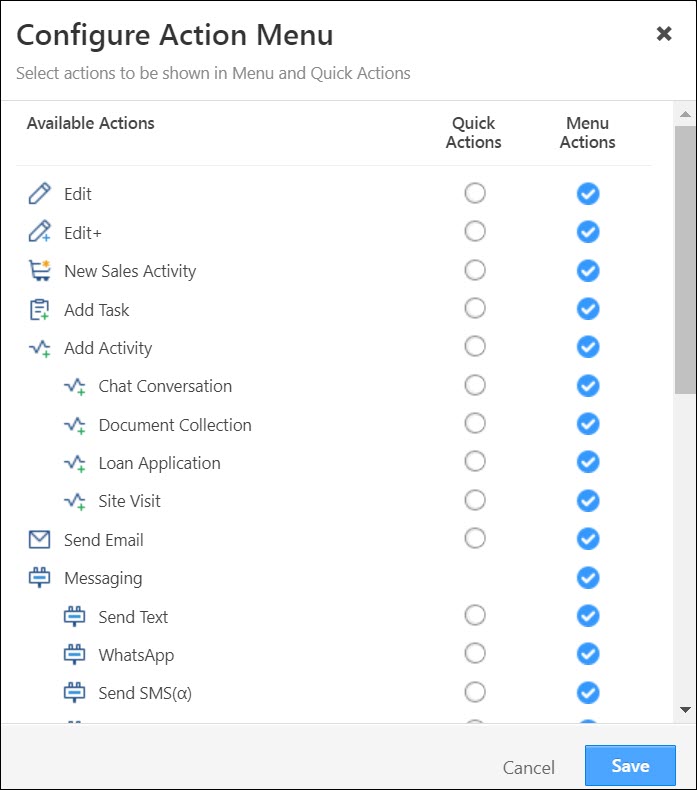
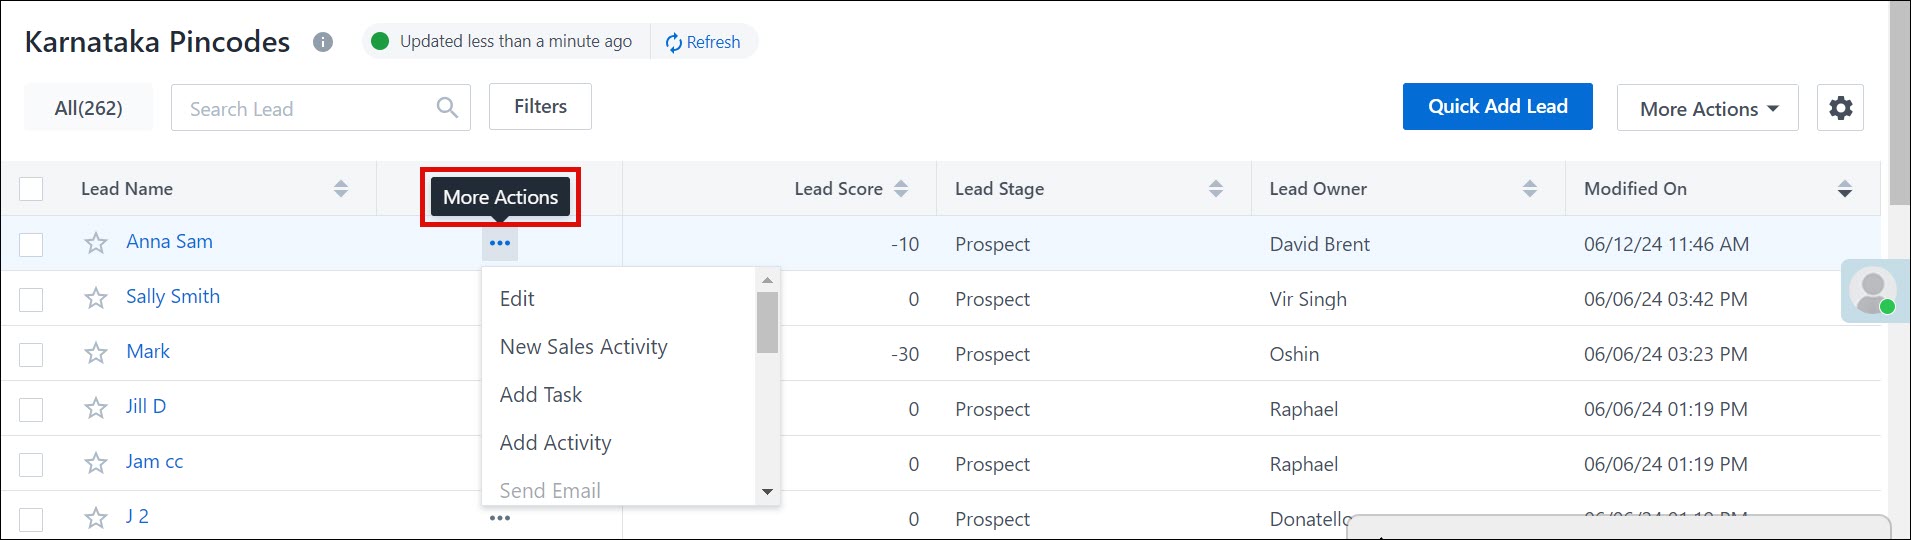
The actions will now appear on the Smart Views page.
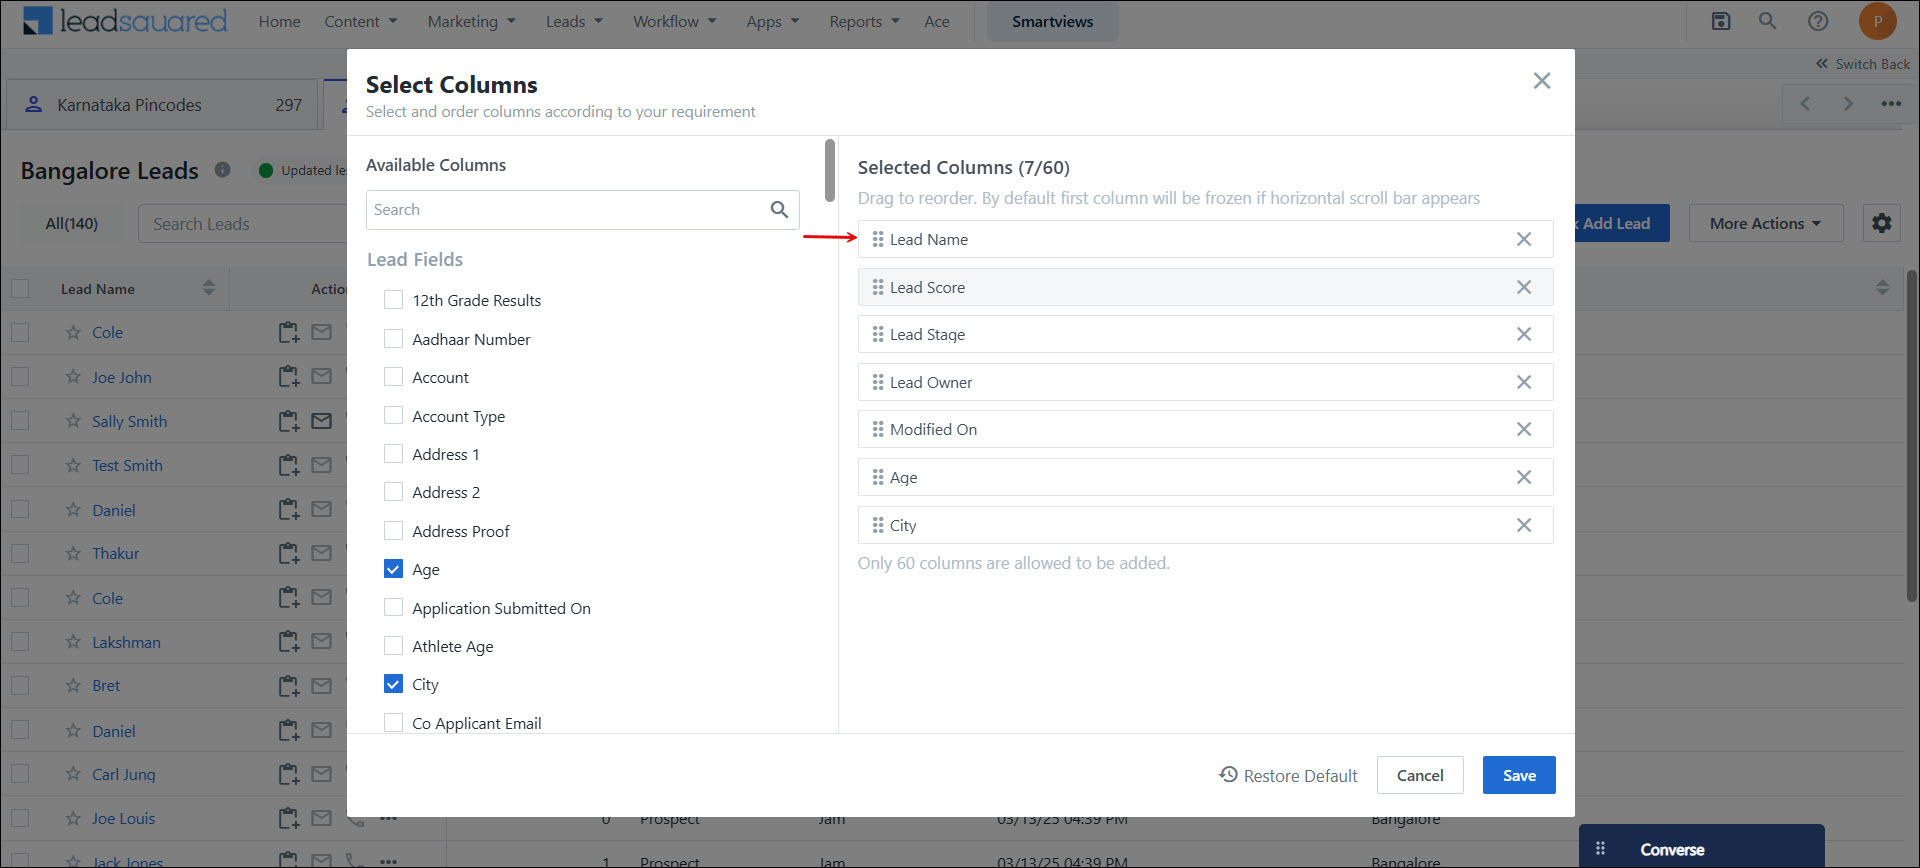
3.2 Re-Order Columns
You can re-order columns for any tab by clicking ![]() and selecting Manage Columns. Simply drag and drop the fields under Selected Columns in the appropriate place –
and selecting Manage Columns. Simply drag and drop the fields under Selected Columns in the appropriate place –
3.3 Manage Filters
- Navigate to Settings>Leads>Smart Views.
- Under Actions, alongside the relevant Smart View, click Edit.
- Navigate to the tab and click on Manage Filters.
- Select the required filters and alongside the Enable filter options for mobile users setting, click
 .
. - Click Save.
Note:
- A maximum of 5 fields can be selected as filters.
- The following datatype fields are displayed for lead field and activity field filters –
- Dropdown
- Date
- Date-time
4. Assign a Smart View Tab to a Team
Once you’ve created a smart view tab, you can assign it to a team.
- Navigate to My Profile>Settings>Users and Permissions>Teams.
- Alongside the team you want to assign the Smart View tab to, click
 .
. - Click Apply Smart View.
- In the drop-down under the Smart View column of the pop-up window, select the smart view you want to assign the team.
- Click the checkbox under the Replace column if you wish to replace the previous smart view that was assigned to the team. This will also replace the smart view for any children teams that were inheriting the previous smart view.
- Click Save.
5. FAQs
Why does the tab I created from admin settings reference a different activity after assignment?
This issue may arise when view permissions are applied to that particular entity for the user to whom the tab is assigned. Verify the permission template for view permissions. This is applicable to tasks, opportunities, and accounts as well.
Why aren’t the filters configured in Manage Filters applied to WPSCRM’s platform Smart Views while creating an activity tab from settings?
Manage Filters for activity tabs is exclusively applicable to the new UI and Marvin. To customize filters for activity tabs, ensure that the new UI is enabled for the tenant.
Why can’t I reorder columns in the new Smart Views UI by dragging and dropping them?
To reorder columns in the new UI –
- Click
 . Then, click Select Columns.
 - Under Selected Columns, drag and drop the columns to arrange them in your preferred order.